Embedded Power BI analytics
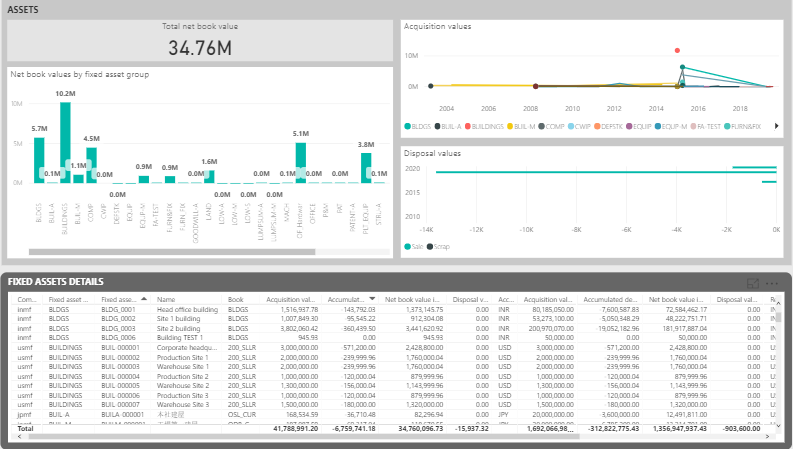
Microsoft Dynamics 365 Finance and operations provide many out of box Workspaces
Application registration process
For performing following steps you must be an administrator for your Microsoft Azure Active Directory (Azure AD) account
1. Sign in to https://portal.azure.com.
2. Click Azure Active Directory link on the Home page of Azure portal.

3. Click App registrations link under Manage section.

4. Click New registration on App registrations page.

5. Enter the name by which the app will be identified e.g. “PowerBI App registration”
6. Select which accounts should access the Application.
7. Enter Redirect URI. This is mandatory and I think it is incorrectly tagged as optional by Microsoft. This URI consists of your Microsoft Dynamics 365 Finance and operations URL followed by /OAuth. For example, if your Microsoft Dynamics 36 Finance and operations URL is https://company-uat.sandbox.operations.dynamics.com, then the Redirect URI will be https://company-uat.sandbox.operations.dynamics.com/oauth.
8. Click the Register button to create the Application.
Once the application is created do not forget to note down the Application (client) ID

9. Click Certificate & secrets
10. Click New client secret button.

11. Enter Description to identify the client secret.
12. Select validity for the client secret.
13. Click Add button to generate a new client secret.
Client secret is also known as Application key.

14. Click the Copy button to copy the Client secret or Application key.
Note down this Client secret or Application key

15. Click API permission link to navigate to API permissions page.
16. Click Add a permission button

We now have to add permissions to access following APIs:
Dynamics ERP (Delegated permissions and Application permissions)
Power BI service (Delegated permissions and Application permissions)
17. Select Dynamics ERP from Microsoft APIs list.

18. Click Delegated permissions.
19. Select all the permissions as per below screenshot. Click Add permissions button to add permissions to the application.

Perform step – 17 again.
20. Click Application permissions.
21. Select permissions as per below screenshot. Click Add permissions button to add permissions to the Application.

Perform step 15 and 16.
22. Click Power BI Service from Microsoft APIs list.

23. Click Delegated permissions and then select all permissions as selected in the following two screenshots.
24. Click Add permissions button to add selected permissions to the application.


Perform step 15, 16 and 22.
25. Click Application permissions
26. Select all permissions as selected in the following screenshot. Click Add permissions button to add selected permissions to the application.

Once all permissions are selected the consolidated list of permissions should like below screenshot.
27. Some of the permission selected requires Admin consent. Login with Global admin user for your portal.azure.com and then click Grant admin consent for Company Name.

Specify Power BI settings in Microsoft Dynamics 365 Finance and operations
Before performing the following steps make sure that you are logged in with the user having System administrator role in Microsoft Dynamics 365 Finance and operations.
Browse Microsoft Dynamics 365 Finance and operations instance and then navigate to System administration >> Setup >> PowerBI.com configuration
28. Set Enable PowerBI.com integration to Yes.
29. Enter Application ID created in Step – 8.
30. Enter Application key created in step – 14.
31. Click Get started to integrate PowerBI.com with Microsoft Dynamics 365 Finance and operations using the Azure application. Once PowerBI.com service is authenticated this Get started section disappears.

In the upcoming post Power BI analytics with Microsoft Dynamics 365 Finance and Operations – Part 2 we are going to discuss on how to configure entity store refresh to have most recent data in Power BI analytical reports.
Please share your thoughts and suggestions in the comment section.
